GitHub 第三方框架
做类似于闲鱼的 TabBar,可参考的几个框架:
- CYLTabBarController【低耦合集成 TabBarController】
- LLRiseTabBar-iOS
- LLRiseTabBar-iOS
- AxcAE_TabBar
- animated-tab-bar Swift
UITabBarController 原生使用方法
UITabBarController 对象可以保存一组视图控制器。此外,UITabBarController 对象还会在屏幕底部显示一个标签栏(tab bar),标签栏会有多个标签项(tab item), 分别对应 UITabBarController 对象所保存的每一个视图控制器。单击某个标签项,UITabBarController 对象就会显示该标签项所对应的视图控制器的视图。
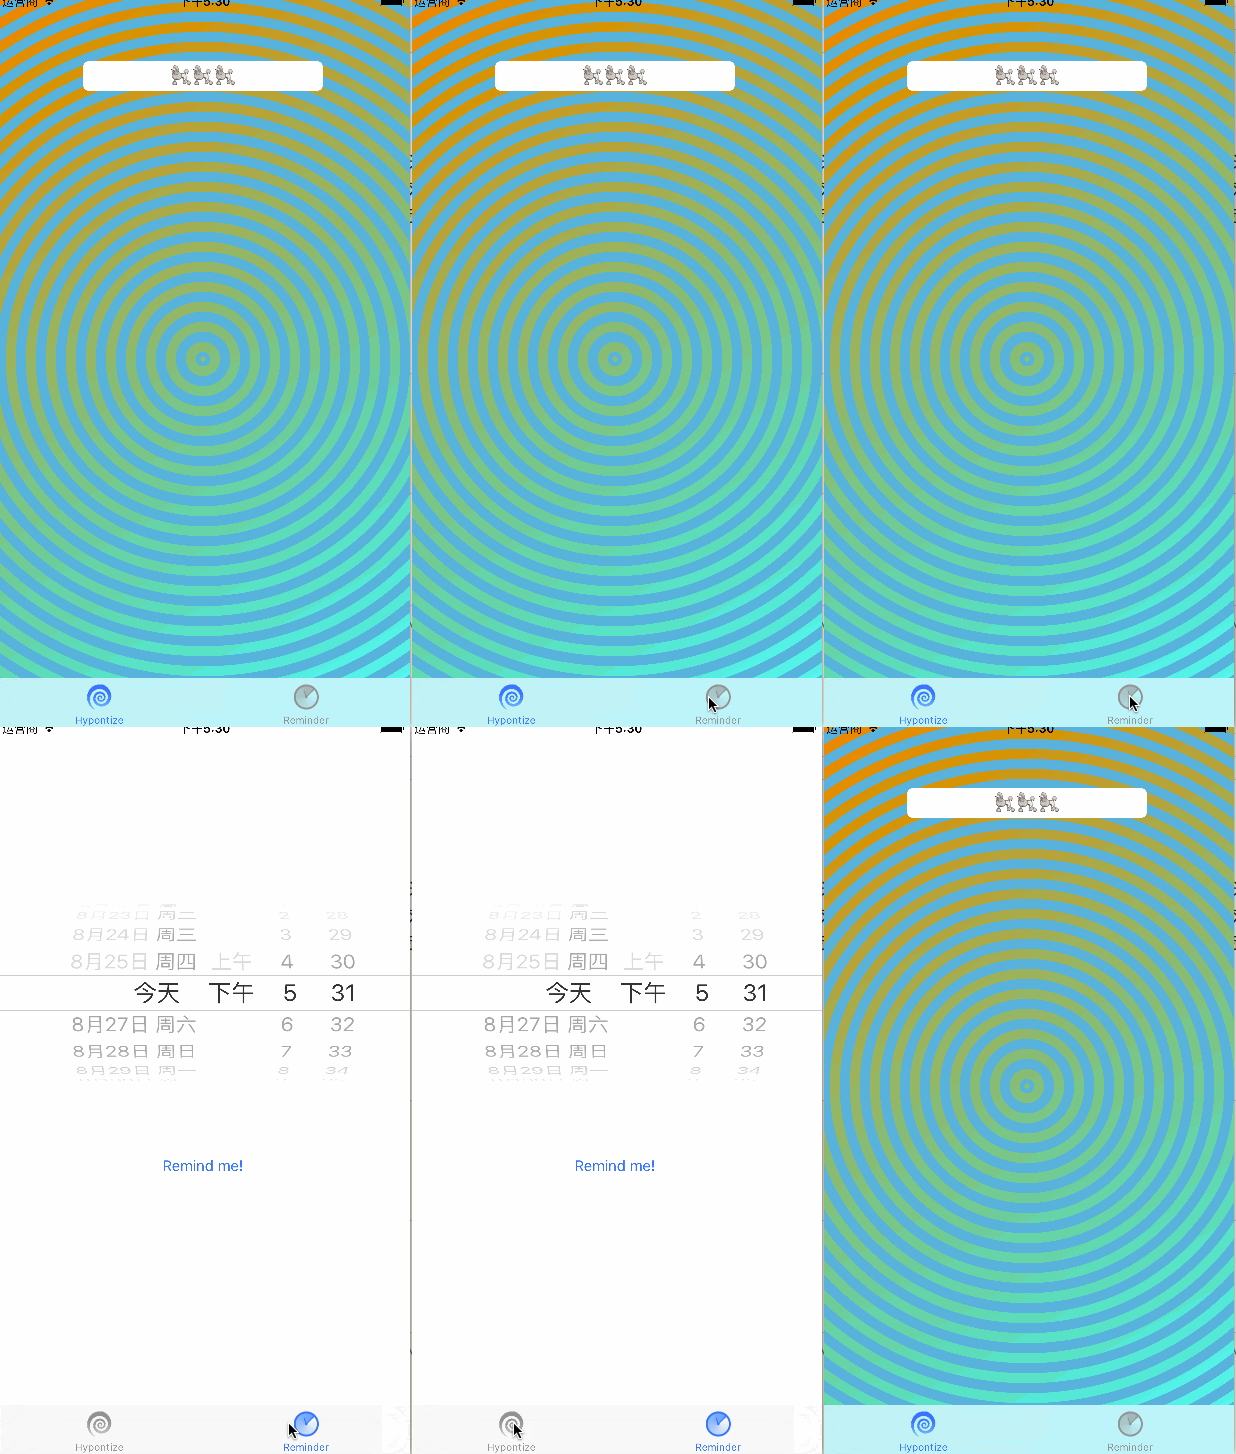
Demo:
创建 UITabBarController 对象
在 AppDelegate.m 文件中创建 UITabBarController 对象:
// 保存一组视图控制器,使应用能够在两个视图控制器的对象之间自由的切换
HQLHyponsisViewController *hvc = [[HQLHyponsisViewController alloc]init];
HQLReminderViewController *rvc = [[HQLReminderViewController alloc] init];

UITabBarController *tabBarController =[[UITabBarController alloc]init];
// 将两个创建的视图控制器加入该对象
tabBarController.viewControllers = @[hvc,rvc];
self.window.rootViewController =tabBarController;
设置标签项
分别在每个 ViewControl 中的.m 文件中覆写视图控制器的指定初始化方法
左边的视图控制器:
    - (instancetype)initWithNibName:(NSString *)nibNameOrNil bundle:(NSBundle *)nibBundleOrNil {

    self = [super initWithNibName:nibNameOrNil bundle:nibBundleOrNil];
    if (self) {
        //设置标签页的标题
        self.tabBarItem.title = @"Hypontize";

        //从图像文件创建一个UIImage对象
        //在 Retina 显示屏上会加载 Hypno@2X.png 而不是 Hypno.png
        UIImage *i =[UIImage imageNamed:@"Hypno.png"];

        //将UIImage对象赋给标签项的image属性
        self.tabBarItem.image = i;
    }
    return self;
}
## 右边的视图控制器
    - (instancetype)initWithNibName:(NSString *)nibNameOrNil bundle:(NSBundle *)nibBundleOrNil {

    self = [super initWithNibName:nibNameOrNil bundle:nibBundleOrNil];
    if (self) {
        //获取tabBarItem属性所是向的UITabBarItem对象
        UITabBarItem *tbi = self.tabBarItem;
        //设置UITabBarItem对象的标题
        tbi.title = @"Reminder";

        //从图像文件创建一个UIImage对象
        UIImage *i =[UIImage imageNamed:@"Time.png"];
        //将UIImage对象赋给标签项的image属性
        tbi.image = i;
    }
    return self;
}
另一种设置方式是创建一个 TabBarController 子类对象,所有子视图的标签项在该.m 文件中设置。
💡TabBarController 和各 ViewController 之间可以通过 StoryBoard 的方式连接。
Demo:

在 tabBarController.m 文件中设置如下:
- (void)viewDidLoad {
[super viewDidLoad];
self.tabBar.backgroundColor = [UIColor whiteColor];

//设置UITabBarItem的标题和图片
//首页
UITabBarItem *item1 = self.tabBar.items [0];
item1.title = @"首页";
item1.image = [[UIImage imageNamed:@"guide_home_nm"] imageWithRenderingMode:UIImageRenderingModeAlwaysOriginal];
item1.selectedImage = [[UIImage imageNamed:@"guide_home_on"] imageWithRenderingMode:UIImageRenderingModeAlwaysOriginal];

//资讯
UITabBarItem *item2 = self.tabBar.items [1];
item2.title = @"资讯";
item2.image = [[UIImage imageNamed:@"guide_information_nm"] imageWithRenderingMode:UIImageRenderingModeAlwaysOriginal];
item2.selectedImage = [[UIImage imageNamed:@"guide_information_on"] imageWithRenderingMode:UIImageRenderingModeAlwaysOriginal];

//我的
UITabBarItem *item3 = self.tabBar.items [2];
item3.title = @"我的";
item3.image = [[UIImage imageNamed:@"guide_personal_nm"] imageWithRenderingMode:UIImageRenderingModeAlwaysOriginal];
item3.selectedImage = [[UIImage imageNamed:@"guide_personal_on"] imageWithRenderingMode:UIImageRenderingModeAlwaysOriginal];

//标签栏背景色
[[UITabBar appearance] setBarTintColor:[UIColor whiteColor]];

//字体色
//正常字体色
[[UITabBarItem appearance] setTitleTextAttributes:[NSDictionary dictionaryWithObjectsAndKeys:[UIColor grayColor],NSForegroundColorAttributeName, nil] forState:UIControlStateNormal];
//被选中时的字体色
[[UITabBarItem appearance] setTitleTextAttributes:[NSDictionary dictionaryWithObjectsAndKeys:[UIColor orangeColor],NSForegroundColorAttributeName, nil] forState:UIControlStateSelected];
}
视图控制器的设置,以及 TabBar 标签的设置全部采用代码方式设置在同一个 TabBarController 子类类中:
- (instancetype)init {
    self = [super init];

    if (self) {
        // 设置背景颜色和大小
        self.view.backgroundColor = COLOR_RGB(245, 245, 245);
        self.view.frame = CGRectMake(0, 0, SCREEN_WIDTH, SCREEN_HEIGHT);

        [self initControllers];
    }

    return self;
}

- (void)initControllers {
    // 电影tabbar
    TPPViewController *filmViewController = [self renderTabBarItem:[[TPPFilmViewController alloc] init] title:@"电影" imageNamed:@"film_normal.png" selectedImageNamed:@"film_selected.png"];
    TPPNavigationController *filmNavigationController = [[TPPNavigationController alloc] initWithRootViewController:filmViewController];

    // 影院tabbar
    TPPViewController *cinemaViewController = [self renderTabBarItem:[[TPPCinemaViewController alloc] init] title:@"影院" imageNamed:@"cinema_normal.png" selectedImageNamed:@"cinema_selected.png"];
    TPPNavigationController *cinemaNavigationController = [[TPPNavigationController alloc] initWithRootViewController:cinemaViewController];

    // 演出tabbar
    TPPViewController *damaiViewController = [self renderTabBarItem:[[TPPDamaiViewController alloc] init] title:@"演出" imageNamed:@"damai_normal.png" selectedImageNamed:@"damai_selected.png"];
    TPPNavigationController *damaiNavigationController = [[TPPNavigationController alloc] initWithRootViewController:damaiViewController];

    // 发现tabbar
    TPPViewController *discoveryViewController = [self renderTabBarItem:[[TPPDiscoveryViewController alloc] init] title:@"发现" imageNamed:@"discovery_normal.png" selectedImageNamed:@"discovery_selected.png"];
    TPPNavigationController *discoveryNavigationController = [[TPPNavigationController alloc] initWithRootViewController:discoveryViewController];

    // 我的tabbar
    TPPViewController *mineViewController = [self renderTabBarItem:[[TPPMineViewController alloc] init] title:@"我的" imageNamed:@"mine_normal.png" selectedImageNamed:@"mine_selected.png"];
    TPPNavigationController *mineNavigationController = [[TPPNavigationController alloc] initWithRootViewController:mineViewController];

    self.viewControllers = @[filmNavigationController, cinemaNavigationController, damaiNavigationController, discoveryNavigationController, mineNavigationController];
}

#pragma mark - Public

- (TPPViewController *)renderTabBarItem:(TPPViewController *)viewController
                               title:(NSString *)title
                          imageNamed:(NSString *)imageNamed
                  selectedImageNamed:(NSString *)selectedImageNamed {
    // 📝 设置导航栏的标题为 TabBar 标题
    viewController.title = title;
    // 📝 设置导航栏 TabBar
    viewController.tabBarItem = [[UITabBarItem alloc] initWithTitle:title image:[UIImage imageNamed:imageNamed] selectedImage:[[UIImage imageNamed:selectedImageNamed] imageWithRenderingMode:UIImageRenderingModeAlwaysOriginal]];
    // 📝 设置导航栏被选中时的字体
    [viewController.tabBarItem setTitleTextAttributes:@{NSForegroundColorAttributeName: COLOR_RGB(255, 81, 103)} forState:UIControlStateSelected];

    return viewController;
}
去掉 TabBar 上部的黑色线条
// 去掉TabBar上部的黑色线条,设置TabBar透明背景
[[UITabBar appearance] setBackgroundImage:[UIImage imageWithColor:[UIColor clearColor]]];
[[UITabBar appearance] setShadowImage:[UIImage new]];

UIView *topLineView = [[UIView alloc] init];
topLineView.frame = CGRectMake(0, 0, CGRectGetWidth(self.tabBar.bounds), 1);
topLineView.backgroundColor = [UIColor colorWithWhite:0.966 alpha:1.000];
[self.tabBar addSubview:topLineView];
参考
- OS 开发 UI 篇 —UITabBarController 简单介绍 @文顶顶