获取 UIView 对象的快照
参考
- GitHub 源码:shinobicontrols/iOS7-day-by-day
- 天天品尝 iOS7 甜点 :: Day 7 :: Taking Snapshots of UIViews
API 方法
UIScreen
- (UIView *)snapshotViewAfterScreenUpdates:(BOOL)afterUpdates;UIView
// 获取当前文本的快照视图
- (UIView *)snapshotViewAfterScreenUpdates:(BOOL)afterUpdates;

// 给定一个可伸缩插值,返回基于当前视图的指定内容的快照视图,
- (UIView *)resizableSnapshotViewFromRect:(CGRect)rect afterScreenUpdates:(BOOL)afterUpdates withCapInsets:(UIEdgeInsets)capInsets;

// 将完整视图层次结构的快照呈现在当前上下文中。
- (BOOL)drawViewHierarchyInRect:(CGRect)rect afterScreenUpdates:(BOOL)afterUpdates;
Demo 示例
Snapshotting for Animation - 动画快照
自定义视图绘制方法:
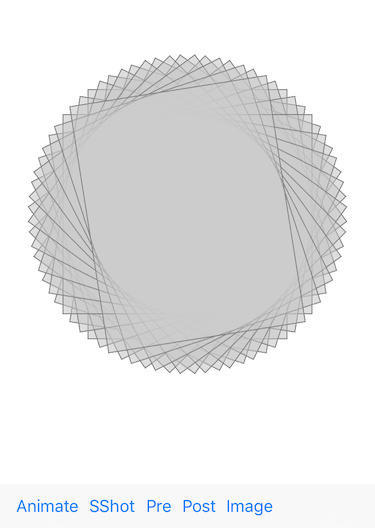
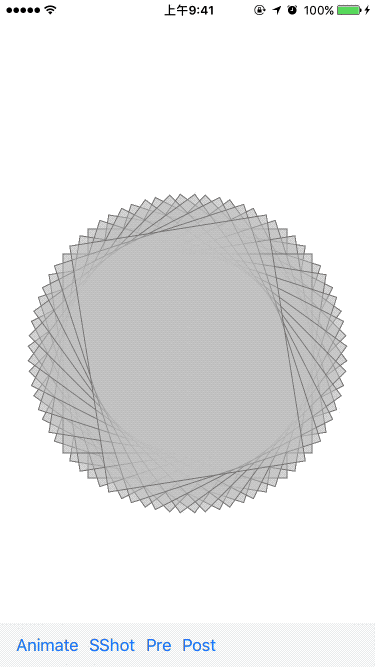
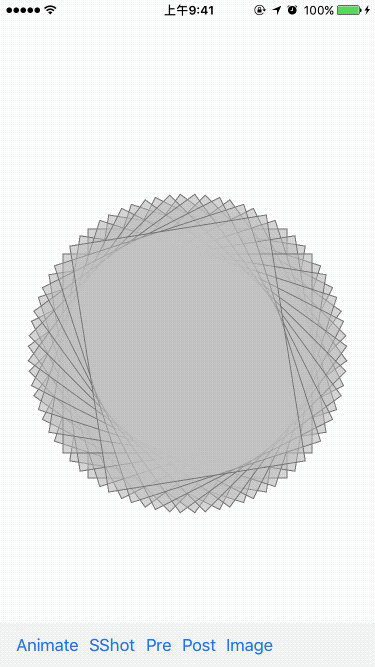
// 生成旋转视图
- (void)generateRotations {
    for (CGFloat angle = 0; angle < 2 * M_PI; angle += M_PI / 20.0) {
        UIView *newView = [[UIView alloc] initWithFrame:CGRectMake(0, 0, 200, 250)];
        newView.center = CGPointMake(CGRectGetMidX(self.bounds), CGRectGetMidY(self.bounds));
        newView.layer.borderColor = [UIColor grayColor].CGColor;
        newView.layer.borderWidth = 1;
        newView.backgroundColor = [UIColor colorWithWhite:0.8 alpha:0.4];
        newView.transform = CGAffineTransformMakeRotation(angle);
        newView.autoresizingMask = UIViewAutoresizingFlexibleHeight | UIViewAutoresizingFlexibleWidth;
        [self addSubview:newView];
    }
}
重新设置所有子视图的背景色:
- (void)recolorSubviews:(UIColor *)newColor {
    for (UIView *subview in self.subviews) {
        subview.backgroundColor = newColor;
    }
}
在动画中使用 UIView 快照以简化复杂的视图
#import "ViewController.h"
#import "HQLRotatingViews.h"
@interface ViewController ()
@property (weak, nonatomic) IBOutlet UIView *containerView;
@end
@implementation ViewController {
HQLRotatingViews *_complexView;
}
#pragma mark - Lifecycle
- (void)viewDidLoad {
[super viewDidLoad];
// Do any additional setup after loading the view, typically from a nib.
[self createComplexView];
}
#pragma mark - Utility methods
// 向容器视图中添加旋转视图
- (void)createComplexView {
_complexView = [[HQLRotatingViews alloc] initWithFrame:self.view.bounds];
[self.containerView addSubview:_complexView];
}
- (void)animateViewAwayAndReset:(UIView *)view {
[UIView animateWithDuration:2.0
animations:^{
view.bounds = CGRectZero;
}
completion:^(BOOL finished) {
// 动画完成后删除视图并创建新视图
[view removeFromSuperview];
[self performSelector:@selector(createComplexView)
withObject:nil
afterDelay:1];
}];
}
#pragma mark - IBActions
/**
这两个方法演示了如何在动画中使用UIView快照以简化复杂的视图
*/
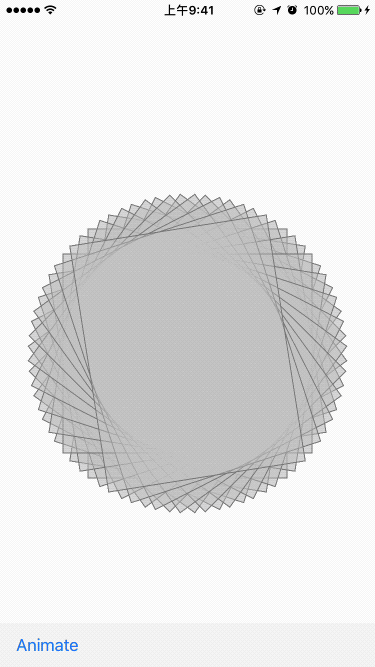
// ❇️ Animate 按钮——直接对 UIView 进行旋转
- (IBAction)handleAnimate:(id)sender {
[self animateViewAwayAndReset:_complexView];
}
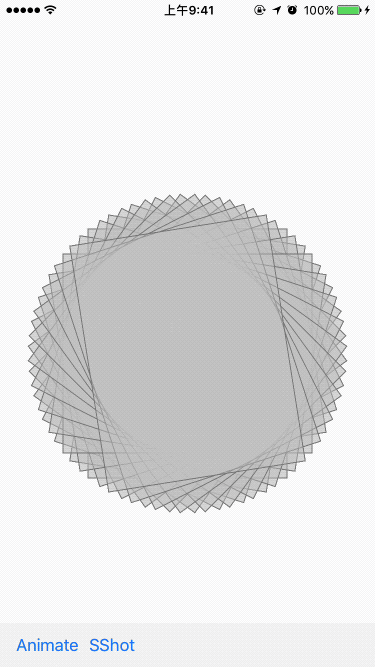
// ❇️ 生成当前 UIView 的快照之后,对快照进行旋转
- (IBAction)handleSnapshot:(id)sender {
// 创建复合视图的快照
UIView *snapshotView = [_complexView snapshotViewAfterScreenUpdates:NO];
[self.containerView addSubview:snapshotView];
[_complexView removeFromSuperview];
[self animateViewAwayAndReset:snapshotView];
}示例一:Animate 按钮 —— 直接对 UIView 进行旋转
示例二:生成当前 UIView 的快照之后,对快照进行旋转
快照方法:
- (nullable UIView *)snapshotViewAfterScreenUpdates:(BOOL)afterUpdates;测试快照方法中的 BOOL 参数
/**
 这两种方法比较了是否允许屏幕更新的区别
 - (nullable UIView *)snapshotViewAfterScreenUpdates:(BOOL)afterUpdates;
 */
- (IBAction)handlePreUpdateSnapshot:(id)sender {
    // 更新视图
    [_complexView recolorSubviews:[[UIColor redColor] colorWithAlphaComponent:0.3]];
    // 创建快照,不等待更改被应用。
    UIView *snapshotView = [_complexView snapshotViewAfterScreenUpdates:NO];
    [self.containerView addSubview:snapshotView];
    [_complexView removeFromSuperview];
    [self animateViewAwayAndReset:snapshotView];
}

- (IBAction)handlePostUpdateSnapshot:(id)sender {
    // 更新视图
    [_complexView recolorSubviews:[[UIColor redColor] colorWithAlphaComponent:0.3]];
    // 创建快照,等待渲染完成。
    UIView *snapshotView = [_complexView snapshotViewAfterScreenUpdates:YES];
    [self.containerView addSubview:snapshotView];
    [_complexView removeFromSuperview];
    [self animateViewAwayAndReset:snapshotView];
}
Pre 按钮 —— 设置为 NO
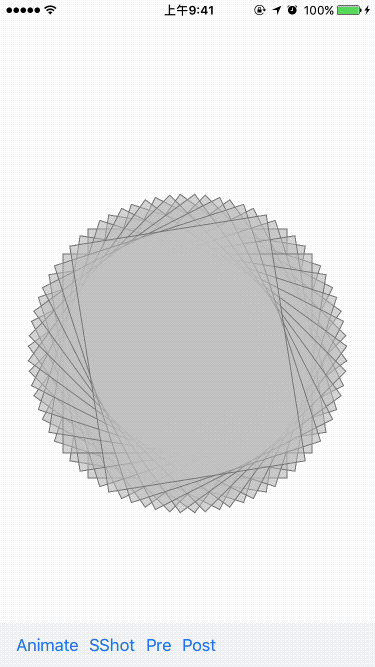
Post 按钮 —— 设置为 YES
生成快照图片
/**
 此方法演示了如何向UIView快照添加图像效果
 */
- (IBAction)handleImageSnapshot:(id)sender {
    // 创建一个图像上下文 - 复合视图的大小和缩放比例
    UIGraphicsBeginImageContextWithOptions(_complexView.bounds.size, NO, 0.0);
    // 将快照渲染到图像上下文中
    [_complexView drawViewHierarchyInRect:_complexView.bounds afterScreenUpdates:NO];

    // 从图像上下文中抓取图像
    UIImage *complexViewImage = UIGraphicsGetImageFromCurrentImageContext();
    // 结束使用图像上下文
    UIGraphicsEndImageContext();

    // 在生成快照之前让当前的视图模糊化
    UIImageView *iv = [[UIImageView alloc] initWithImage:[self applyBlurToImage:complexViewImage]];
    iv.center = _complexView.center;
    [self.containerView addSubview:iv];
    [_complexView removeFromSuperview];
    [self performSelector:@selector(animateViewAwayAndReset:)
               withObject:iv
               afterDelay:1.0];
}

// 模糊化UIImage
- (UIImage *)applyBlurToImage:(UIImage *)image {
    CIContext *context = [CIContext contextWithOptions:nil];
    CIImage *ci_image = [CIImage imageWithCGImage:image.CGImage];
    CIFilter *filter = [CIFilter filterWithName:@"CIGaussianBlur"];
    [filter setValue:ci_image forKey:kCIInputImageKey];
    [filter setValue:@5 forKey:kCIInputRadiusKey];
    CIImage *result = [filter valueForKey:kCIOutputImageKey];
    CGImageRef cgImage = [context createCGImage:result fromRect:[result extent]];
    return [UIImage imageWithCGImage:cgImage
                               scale:image.scale
                         orientation:image.imageOrientation];
}
Limitaions - 局限性
创建的快照必须在屏幕范围之内